
When we built our house we did not have the builder construct the mudroom. The options they had for this area were all so plain and just not what I envision for the space. I felt the plans that they offered did not meet the needs that I would have for a mudroom. All of the plans did not have any cabinets to store items out of sight, every plan was open shelving which would make the space look messy or cluttered.
After staring at the space for many months, I figured out what I wanted and drew it up on paper. I then took measurements and went shopping for all the materials I would need. I was a little nervous because I was embarking on a project that had many elements that I had not done before. I was basically building a furniture piece…like what!
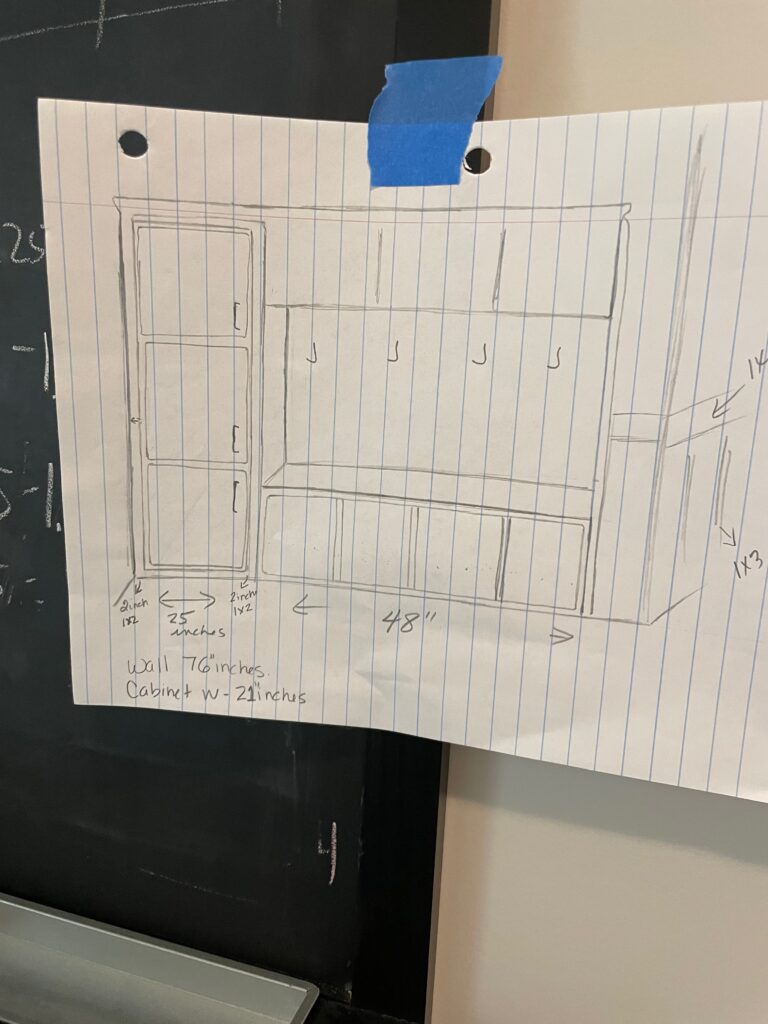
This was the plan that I came up with, it had the cabinets that I needed so my kids could put away all their things. I wanted their book bags to be hidden and little knick knacks that always make a space look cluttered. The liked the idea of the cubbies on the bottom for basket to put shoes in and the cubbies at the top would hold those things that are less used but belong in this space.
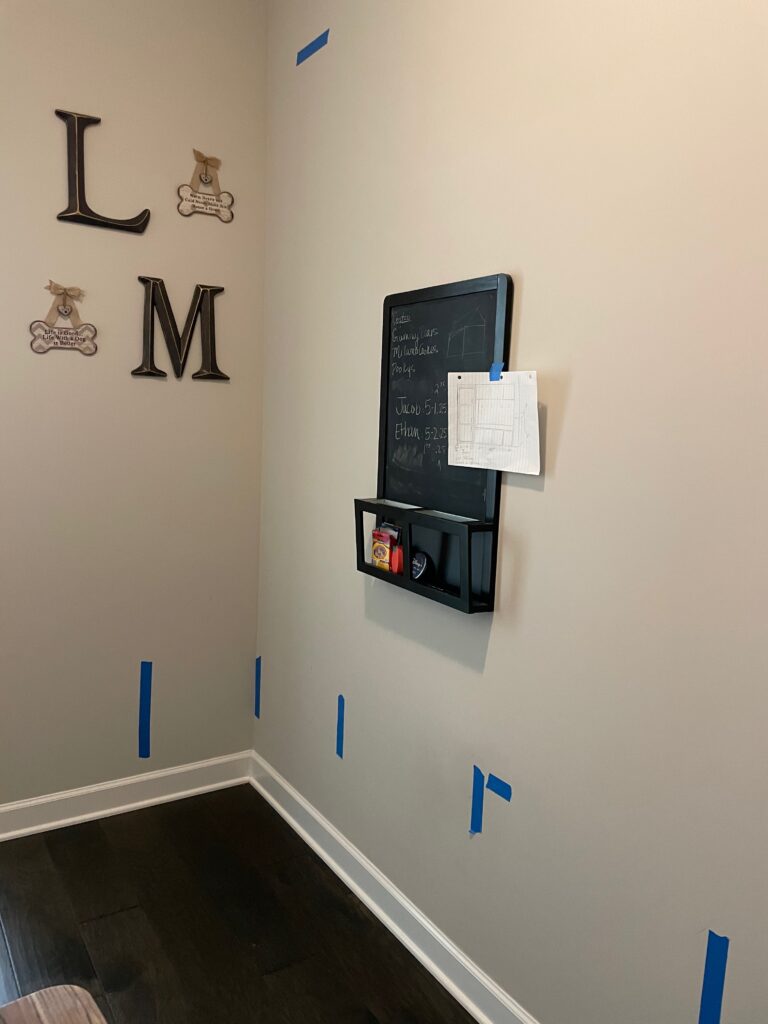
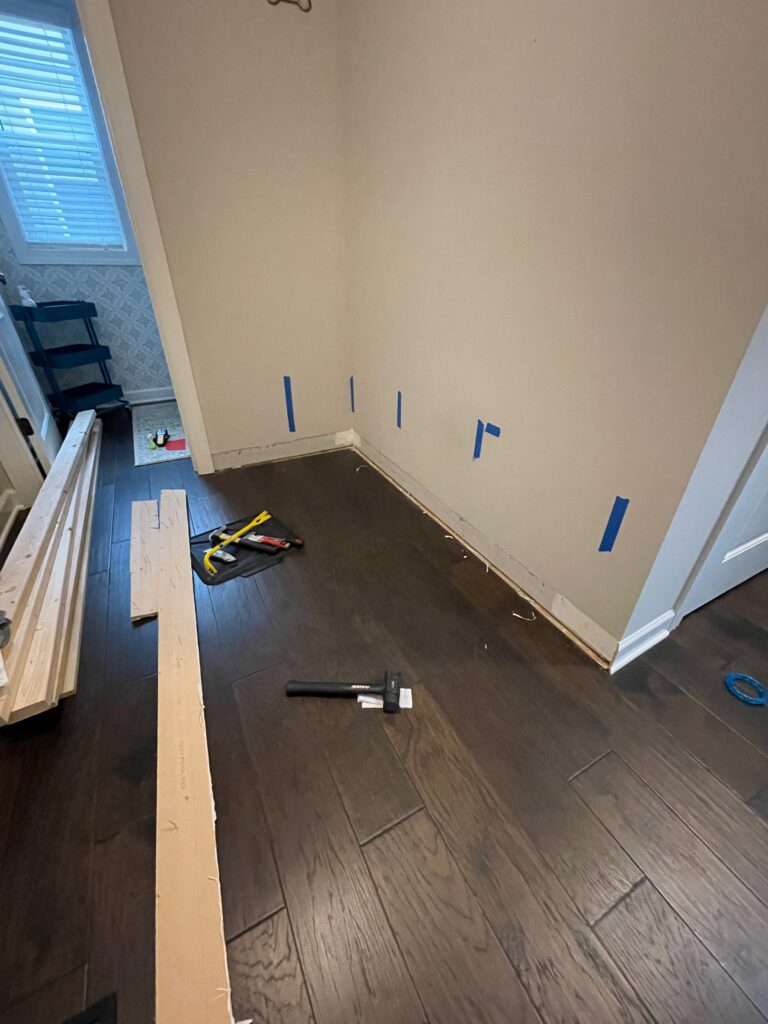
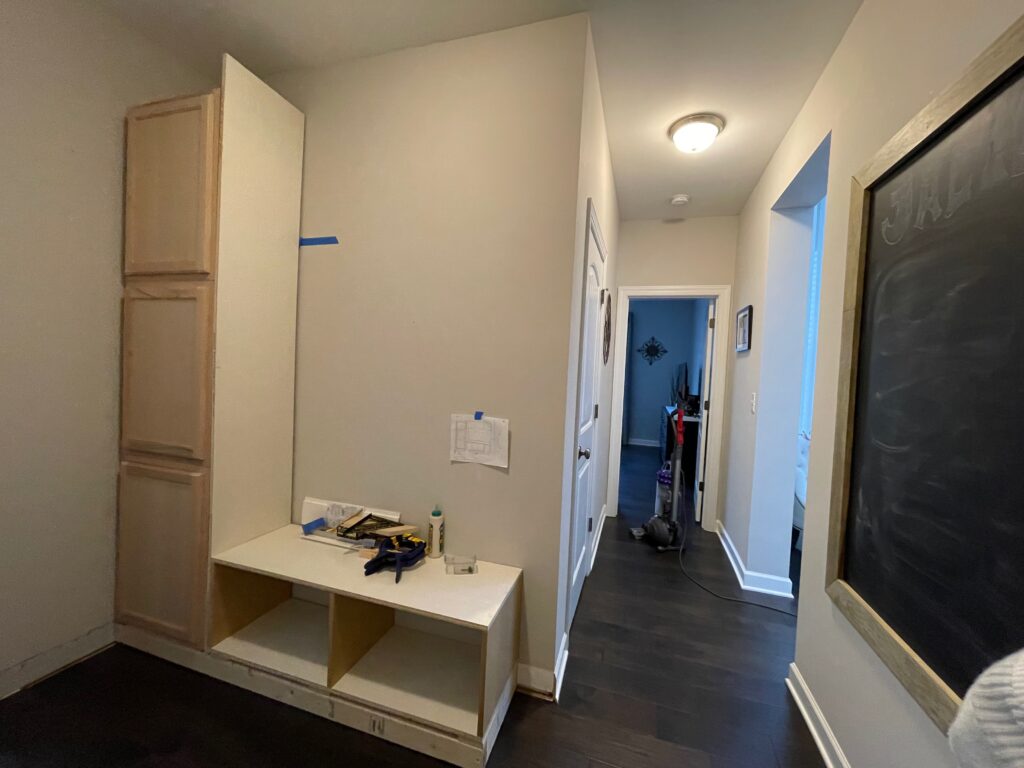
Here is the space before anything was done to it, a very plain corner in our house right off the garage entrance. A space that was calling for some love. The first thing I did was to remove the baseboards as I wanted the piece to look built in and like it was there from the day we built this house.
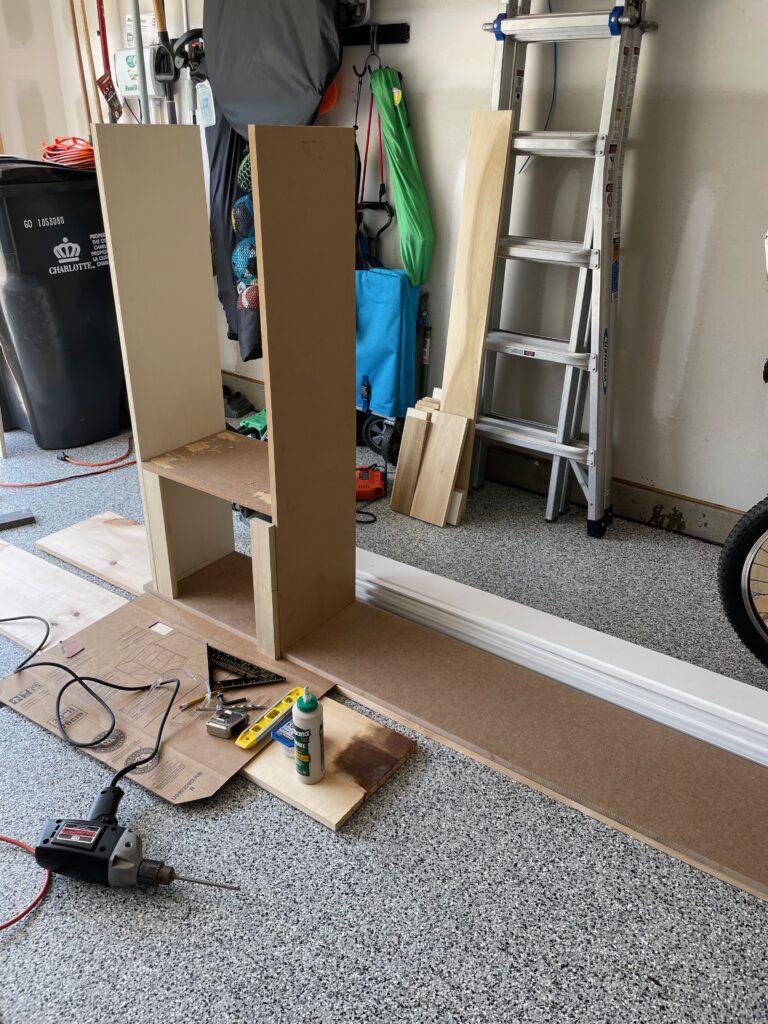
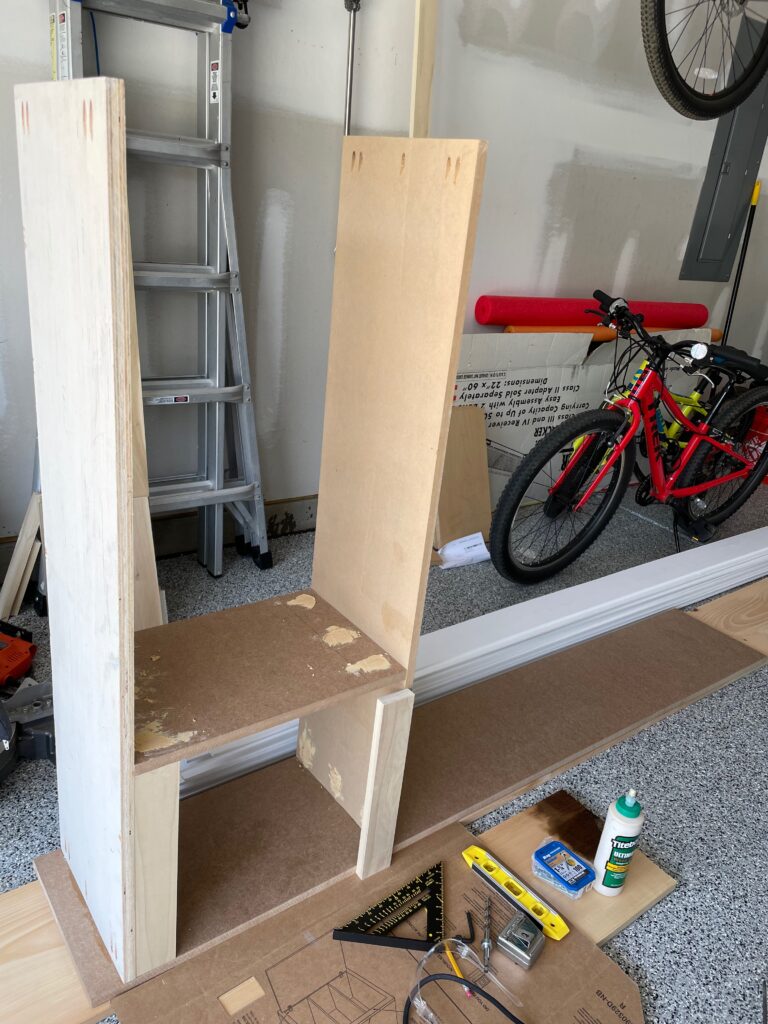
Once I had the baseboards out, I built a base that the cabinets and cubbies would sit on. I attached the base to the studs making sure it was secured. I dry fitted a cabinet and the box of the cubbies to make sure everything was fitting according to my measurements.
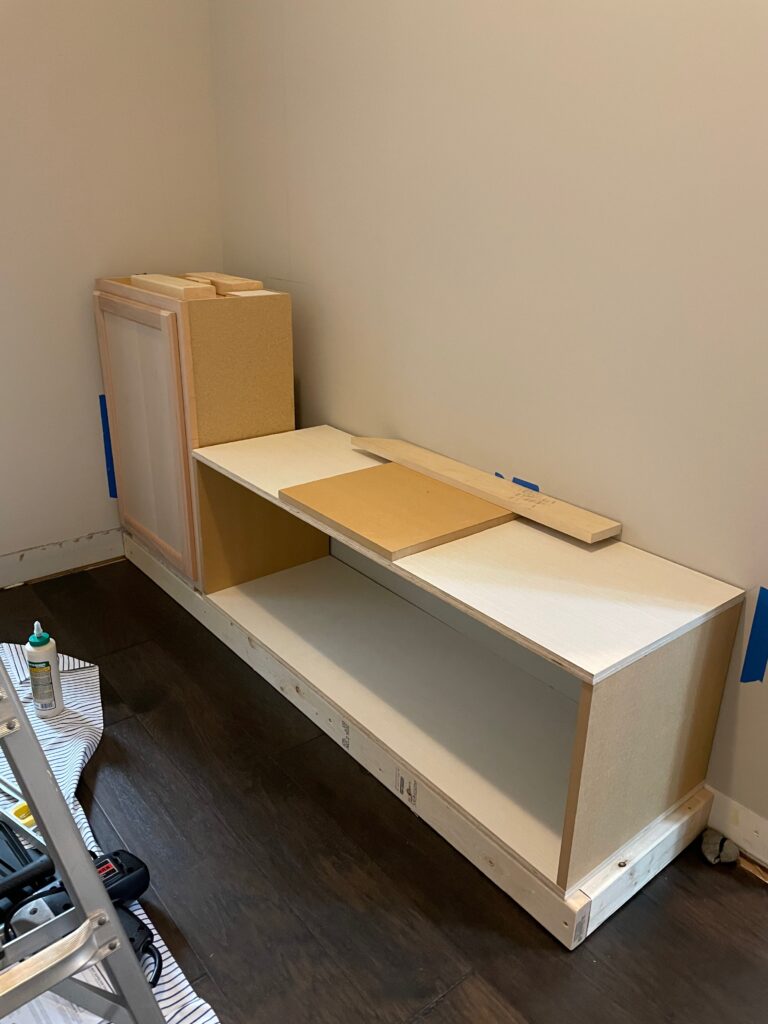
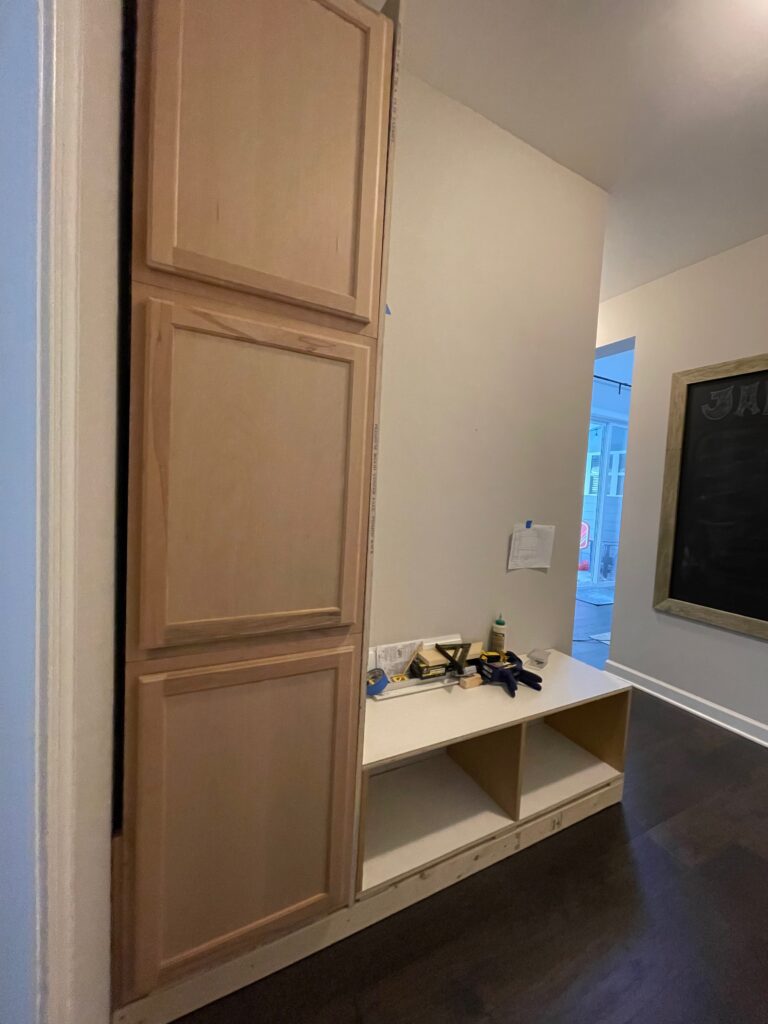
I decided to buy the cabinets, I was not feeling confident enough to build them at this time. Once I double checked my measurements with the dry fit, I ripped down my plywood sheets to make the sides that would enclose the cabinets to make them look custom. I then began attaching everything. The first cabinet had to be attached to the base and the wall, so I did this using screws that I drilled into the studs to secure all components. I then installed the upper two cabinets and the cubby cabinet and made sure everything was secured and did not move an inch.
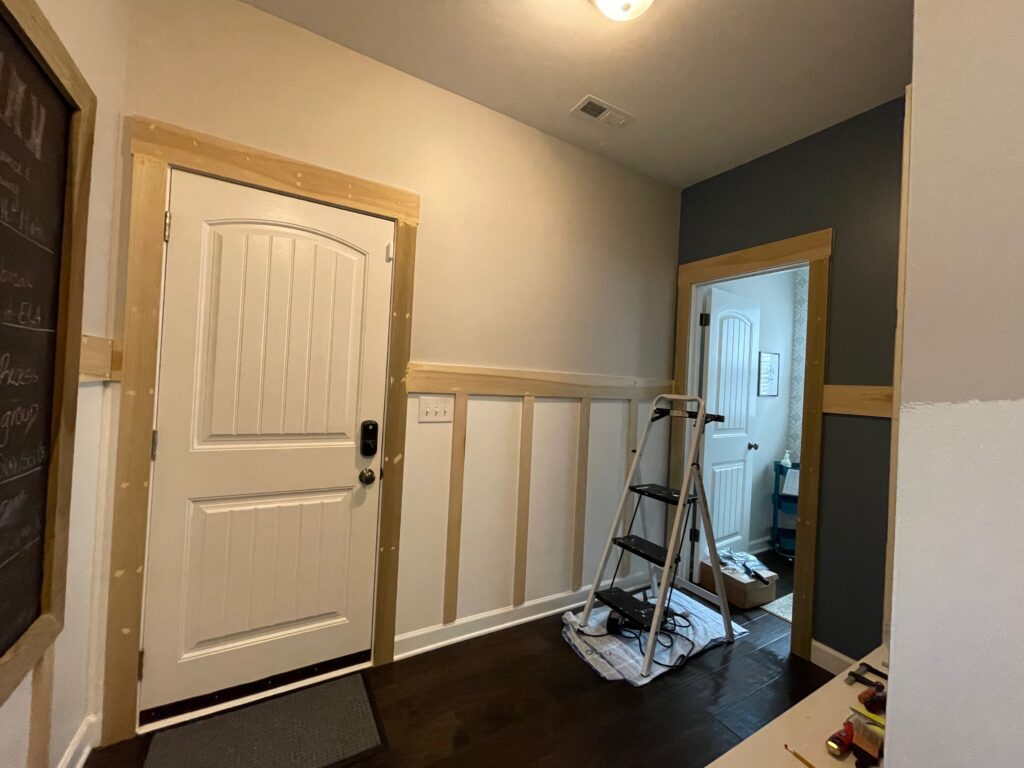
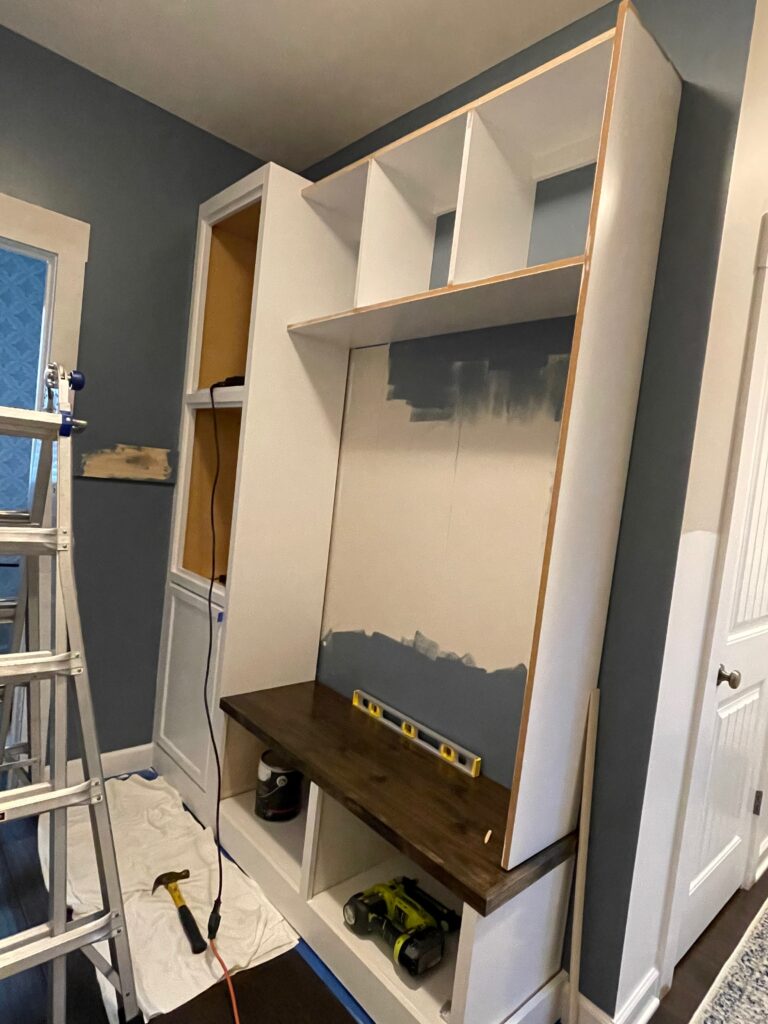
At this point I decided to work on the board and batten wall treatment that I had settled on doing in the mudroom and hallway leading to our guest room. I removed all the door casings so the I could replace them to match the board and batten, I felt it would update the entire area. I did paint the the bottom half of the wall white before starting the wall treatment to make it a little easier when painting all the wood pieces. I also went ahead and painted the walls behind and to the side of the mudroom cabinet blue before continuing the build. I opted to paint first because I did not want to have to cut in with paint after and miss having the opportunity for crisp straight lines.

After I got the wall treatment installed I started working on the upper cubbies that were to be installed above the lower cubbies. It was a pretty easy build, I just had to make sure that everything was squared since it was mostly just making boxes. I then had to install the bench top, but first I stained it to match our existing floors and sealed it with a semi gloss poly. I then was able to install the upper cubbies.
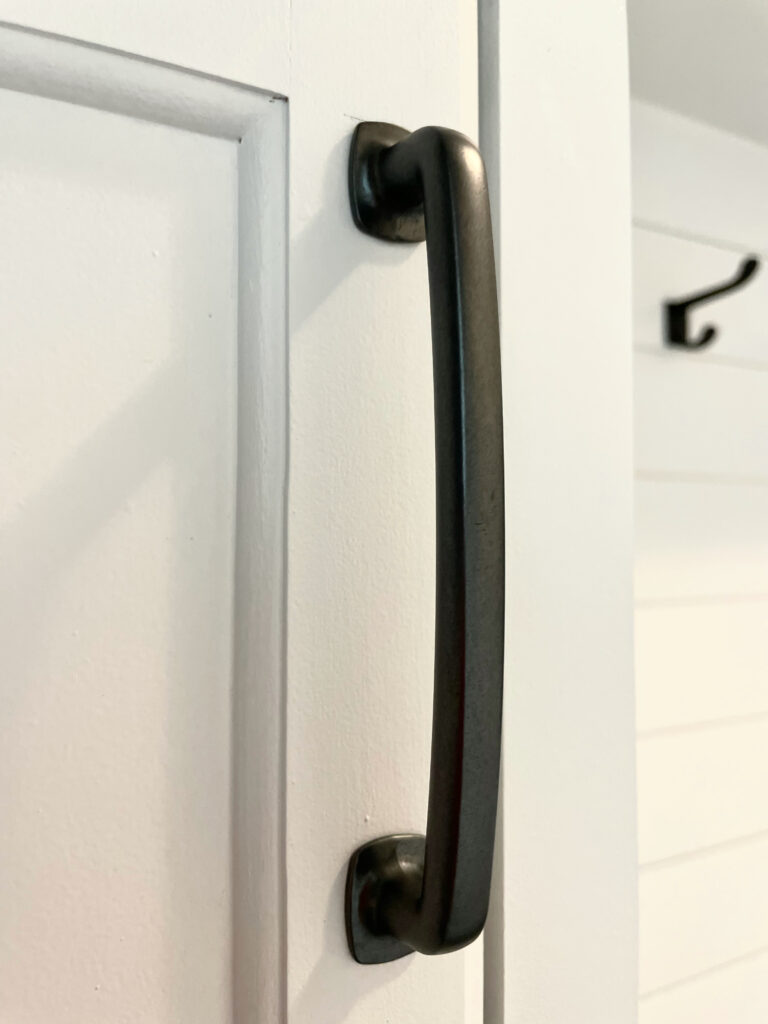
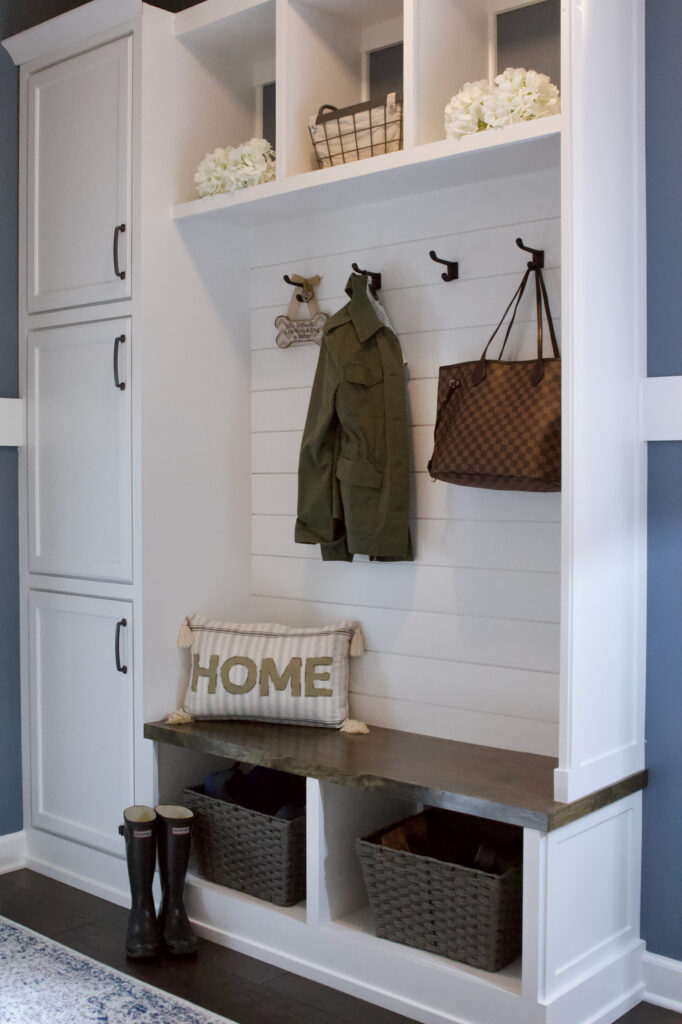
Once I had the upper cubbies installed, it was time to trim this build out. I used 1×2’s to trim out all the raw edges of this wood, I then trimmed out the cabinets with 1×2’s to make them look like custom cabinets. Shiplap was added between the upper cubbies and bench to give that space a more of a finished look. I did add many decorative trim details to really dress up the cabinet and really make it look custom. After all the trim was done, I caulked and wood filled everything to get it ready for paint. I used Sherwin Williams Pure White for the paint and color, but I made sure that the paint I chose was self leveling and specific to use on cabinets. When I decided on the hardware I selected to continue what I had on the cabinets around my house and for the hooks I tried to match the color as close as possible to the wrought iron color of the cabinet handles
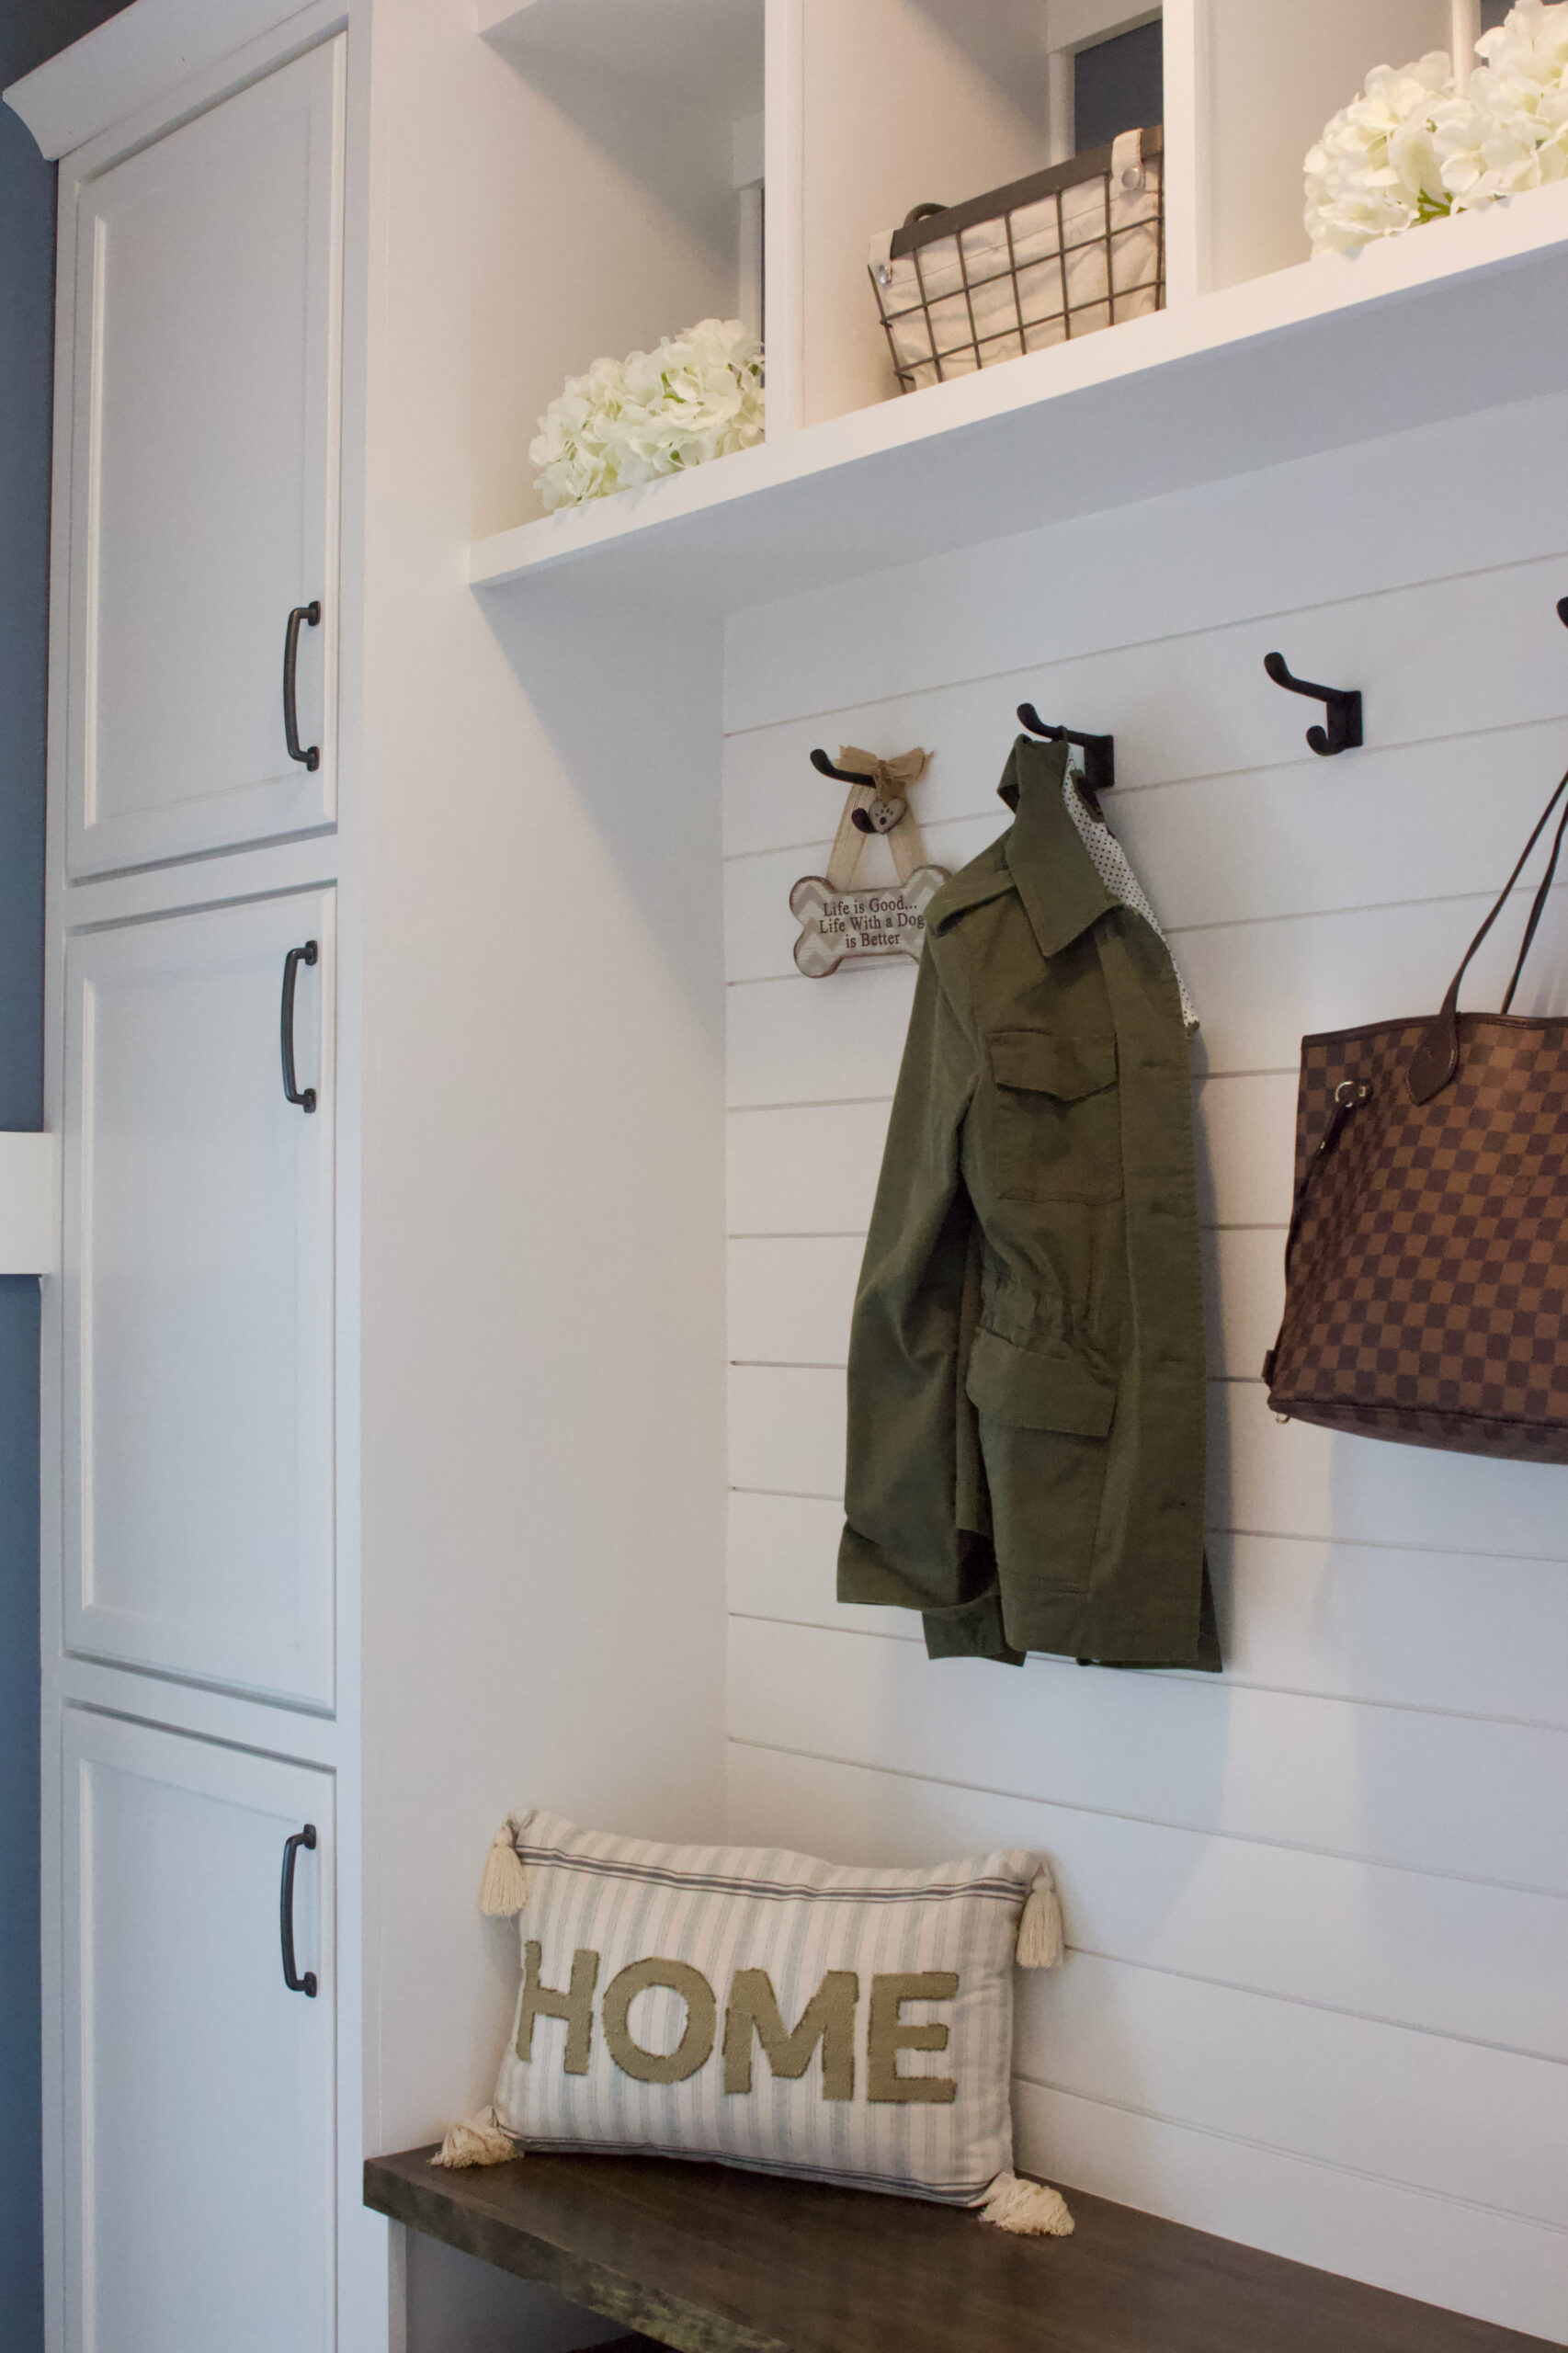
Now that I had the entire cabinet built it was time to decorate this area. I decided to add runners to the hallways and bought some baskets to put into the cubbies to organize things such as winter hats, gloves and scarfs. The bottom cubbies are more for shoe storage so I bought baskets for that area that were a bit larger. This space is now useful and we have an area to drop off our belongings as we enter the house. It is amazing to keep things tidy and not see everything just dropped on the floor and shoes laying everywhere.


Thank You,
Adriana
I’m amazed, I must say. Rarely do I come across a blog that’s equally educative and interesting, and without a
doubt, you’ve hit the nail on the head. The problem is something which not enough folks are speaking intelligently about.
I am very happy I found this in my search for something relating
to this.